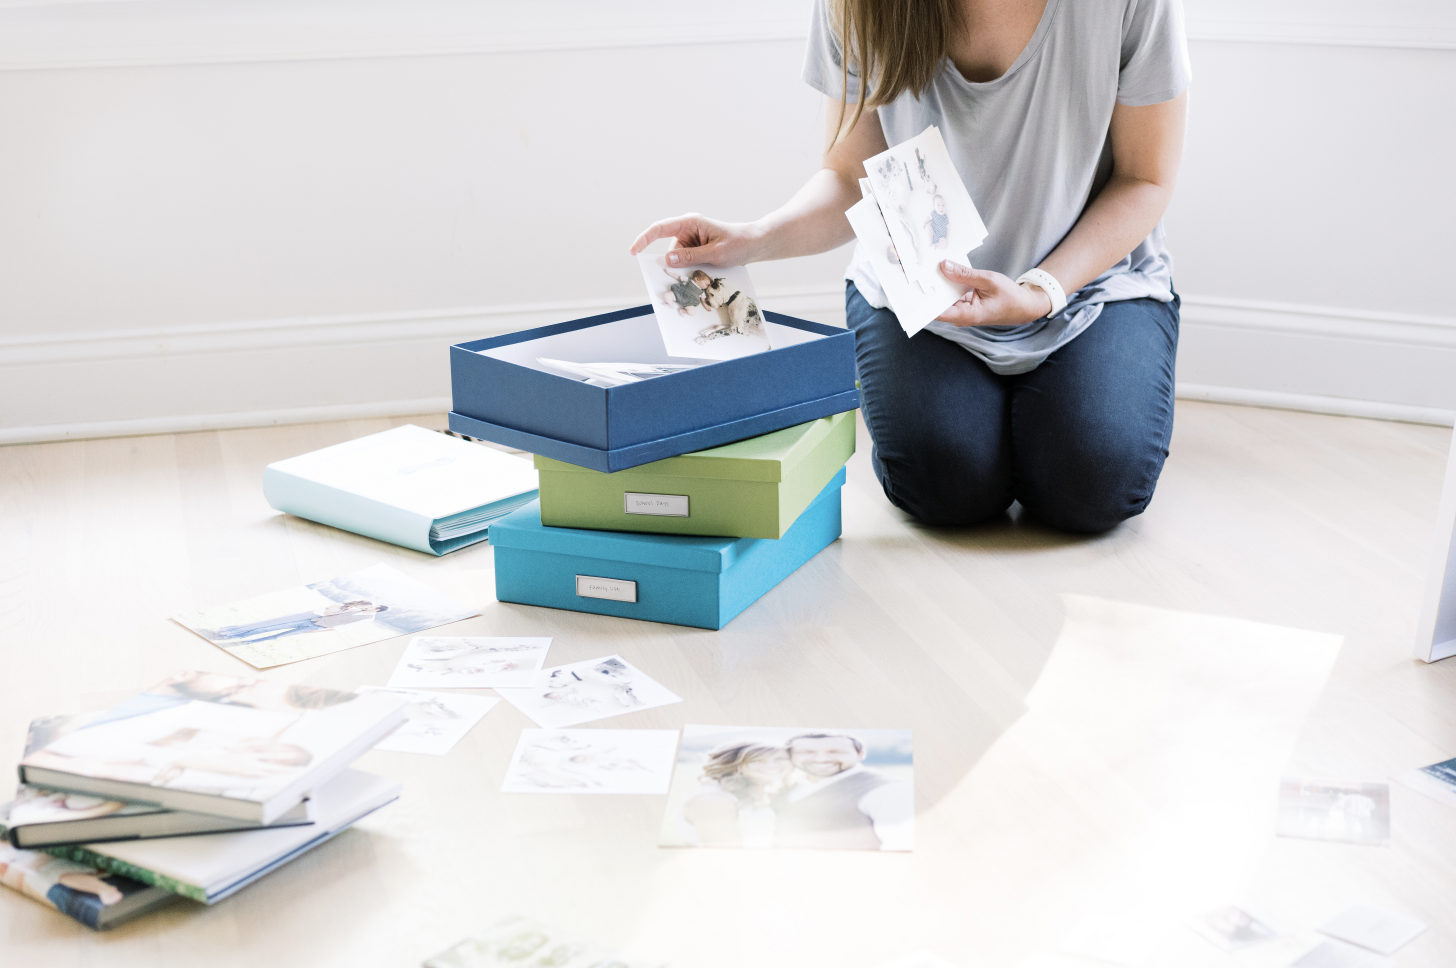
I just checked, and I officially have 1,648 photos and videos currently on my phone. This is an issue, people. And I’m fairly positive I’m not the only one. As a photographer, the funny thing is – my personal photos rarely get the time and attention they deserve.
When I first began photographing weddings, I took no less than 4,000 photos on a wedding day. Then I sorted them down to around 1,500 to deliver to my client.
Who in the world has the time to do anything with 1,500 photos?!
After being in this business for years, and after being a normal human being with a full schedule and a full life, I wish I knew this one, beautiful truth about photography:
Less is more.
Photo by Elizabeth Tate
That’s why we treasure our grandparents’ photos, right? There are only a few sacred images we get to cling to.
Less is more.
That’s why we never ever do anything with the photos on our phone. It’s just plain overwhelming.
Less is more.
So if you are overwhelmed with all of your photos – remember that simple truth: less is more. You don’t have to document every tiny moment or every tiny thing. Just the highlights will do. Your kids, your spouse, and YOU will appreciate the gift of quality over quantity if you embrace this!
Photo by Elizabeth Tate
The Legacy Photo System is separated into 3 Phases:
1. Your Printed Photos
2. Your Digital Photos
3. Your Photos Moving Forward
In this post, I’ll only be focusing on Phase 2: Your Digital Photos! Here is a brief overview of what needs to happen to organize all of your digital photos:
Purchase ONE external Hard Drive (2TB or more) to store all your digital images on. Check out my suggestions in my Hard Drive highlight on Instagram!
Put a File Folder System in Place (see images below)
Gather ALL of your digital images and put them onto that external hard drive, in order by date and folder
Back them up
The most important aspect of this system is the file folder system! If you don’t purchase a Master Hard Drive and follow a Master Filing System for organizing your photos, all of your digital photos will stay on several different computers and laptops, taking up space on your iPhone, old CD’s, USB’s, and scattered hard drives.
So HERE IS MY MAGIC SAUCE!! Take a peek at my File Folder Organization System:
As you can see, everything is organized by Year, then Event (by month).
Now let’s pause and talk about that “Event.” Maybe it’s Father’s Day, maybe it’s a beach trip, maybe it’s Disney World, maybe it’s just life at home. No matter what it is, you still need to organize those photos within that event!
For example, if I take 100 photos at my kid’s birthday party, I’m never going to go back and really enjoy all 100 photos. I’d like to keep and enjoy 10-15 or so. That’s when it’s important to organize your Event Folder into 3 parts:
1. Originals (the place I dump all 100 photos)
2. Picks (the place I drag the 10-15 absolute favorite images)
3. The Event Folder (the FINAL folder of edited and re-named photos)
You can see below my personal event folder for our “Snow Day” a few years ago:
A few KEY tips for you to remember as you organize your digital photos:
Gather all images from all over the place (laptops, phones, computers, CD’s, USB’s, etc) and put them onto ONE hard drive: your new most prized possession!
You have to remember to also back those images up! I use Dropbox to back up my Final Event Folders only.
It’s helpful to create the entire file folder system on the Hard drive first, then drag your images into the properly organized folders.
You’ll be more likely to enjoy and print your digital images (even the ones on your phone!) when you have them organized!
Happy Organizing! To learn more about organizing your printed photos and establishing a system moving forward (so your phone isn’t so out of control), look into my Legacy Photo System course!


